We have environments ready for Azure DevOps and PowerApps.
Azure DevOps
- DevOps Organization
- DevOps Project
- Repo
Power Apps Environment
- New Solution and their entity
- Model-driven App
- Setup App
Install and Enable the Azure DevOps Extensions for PowerApps. Go back to Azure DevOps click the Organization Settings link in the bottom left of the navigation panel.
On the organization settings page, click the Extensions link in the left navigation panel.
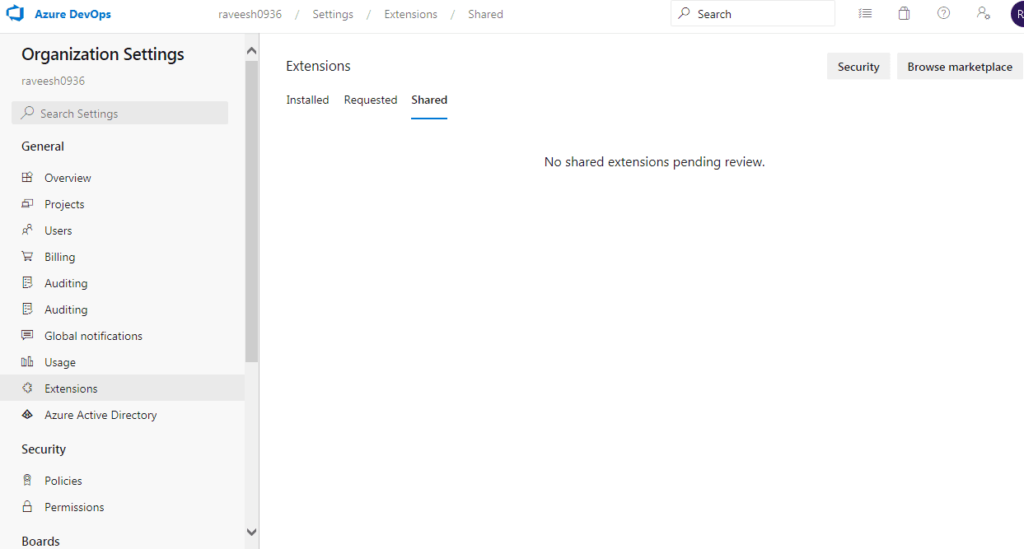
Click the Shared link to view the Azure DevOps tasks and Browse marketplace and search PowerApps Build Tools, add (Get it free) and install PowerApps Build Tools.
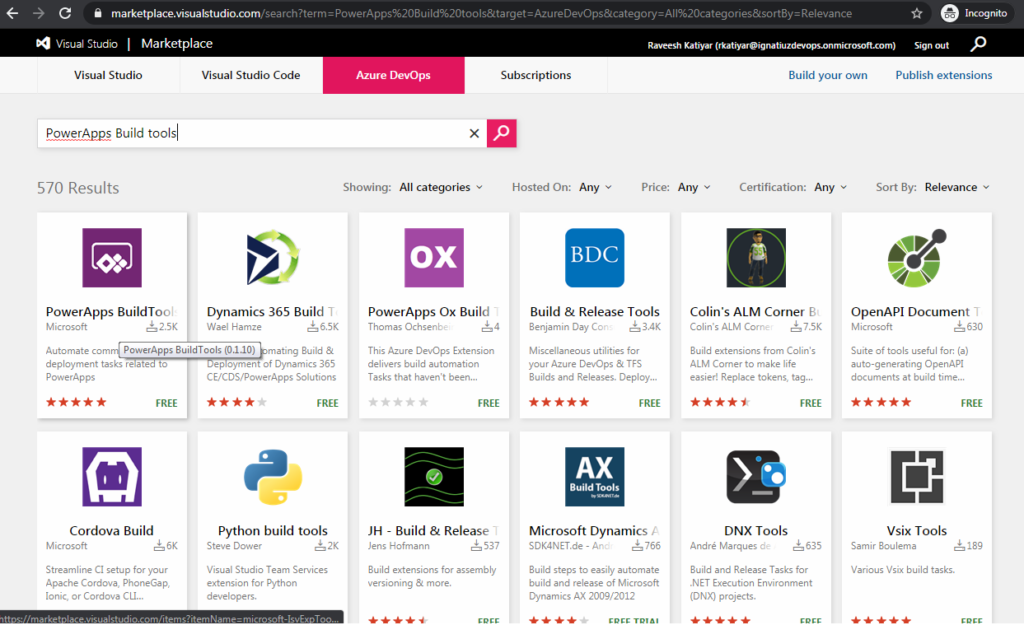
Click Get it free and install it.


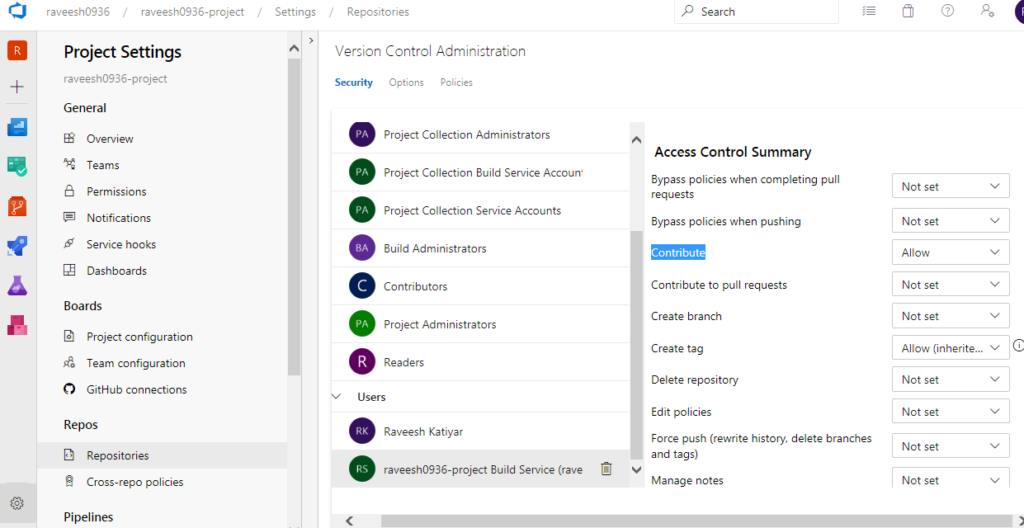
Let’s Configure Azure DevOps Permissions for Build Service Account. The build pipelines that we set up later will be exporting files from an org and checking them into your source code repo. This is not default permission of Azure DevOps, so we need to configure the appropriate permissions for the pipeline to function properly.
Add user and allow contribute permission as per below print screen.
Build Pipeline 1: Create Export Solution
The first pipeline we will create to export your solution from you PowerApps development environment as an unmanaged solution, unpack it using solution packager, and check it into source control (your repo). Select Pipeline and user the classic editor.
Select continue and then Empty Job and Azure Repos Git and then continue.
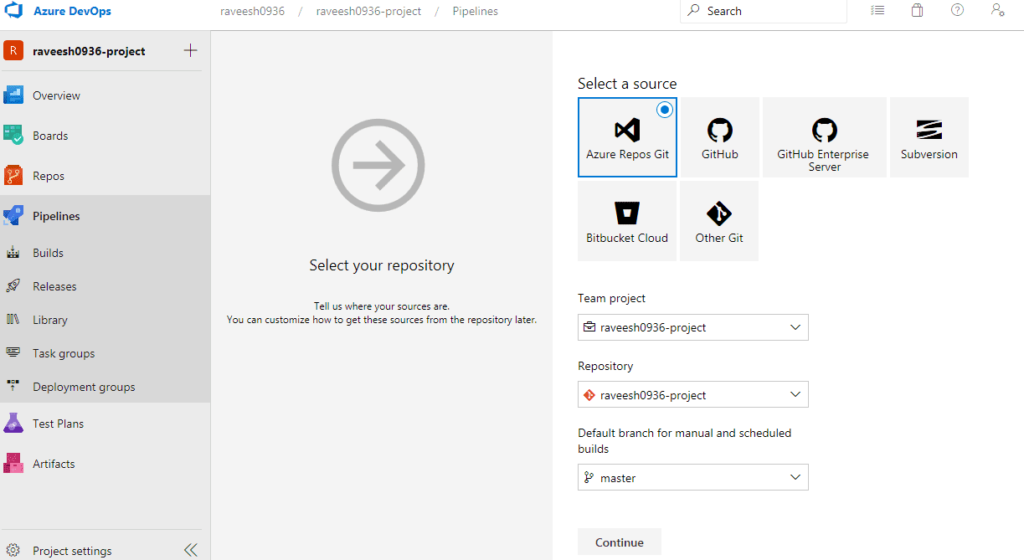
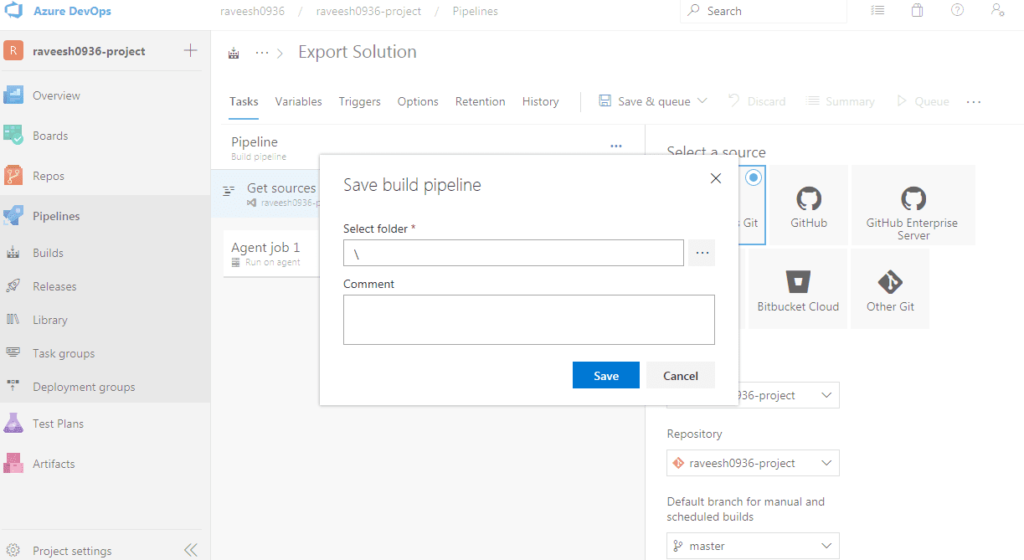
Go to Pipeline and Get Sources and then save first for further process.
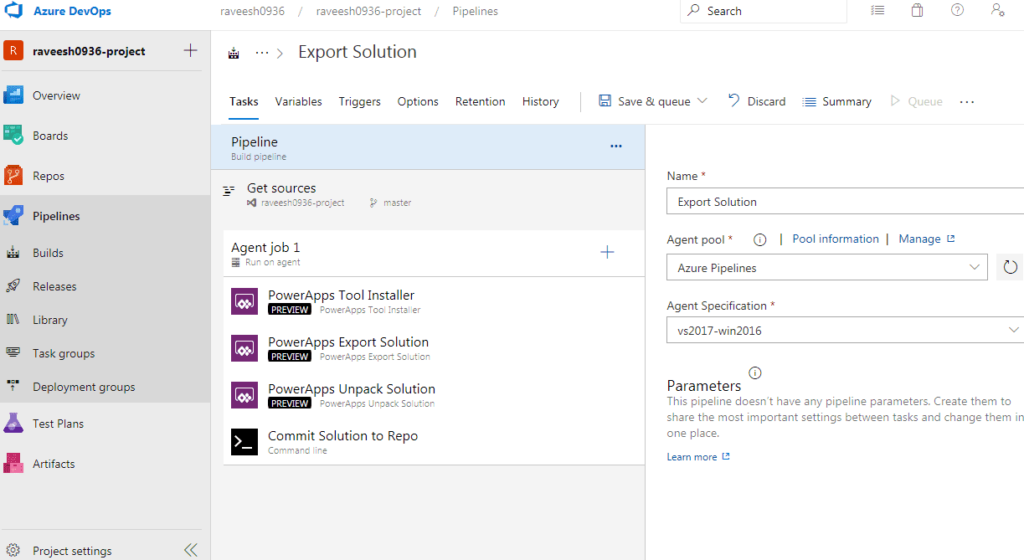
Add power apps build tools
- PowerApps Tool Installer
- PowerApps Export Solution
- PowerApps Unpack Solution and Commit Solution to Repo
- Display name is inherited from Build task itself
- PowerApps Environment URL: This is the connection to the environment that you want to export from. We will define this in the step
- Solution Name: This is the name of the solution you want to export
- Solution Output File: This specifies the path and filename of the generated solution zip
- Export as Managed solution: By default solutions are exported as unmanaged
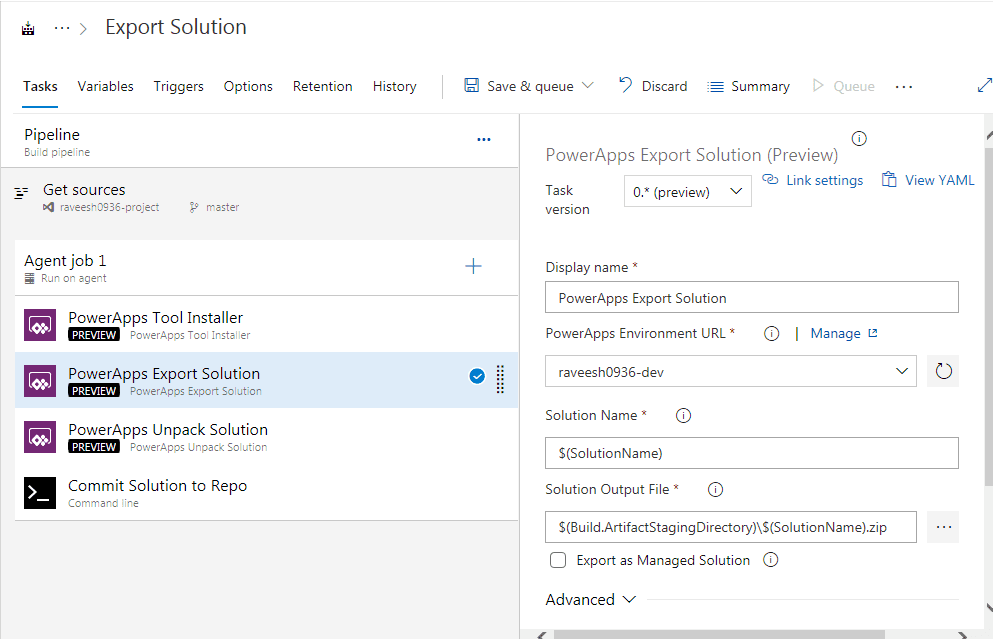
PowerApps Export Solution
- Solution Name: $(SolutionName)
Note: This will use the input parameter that you specify when running (queuing) the build pipeline - Solution Output File: $(Build.ArtifactStagingDirectory)\$(SolutionName).zip
Note: This will add the file to your repo and retain the existing solution name.
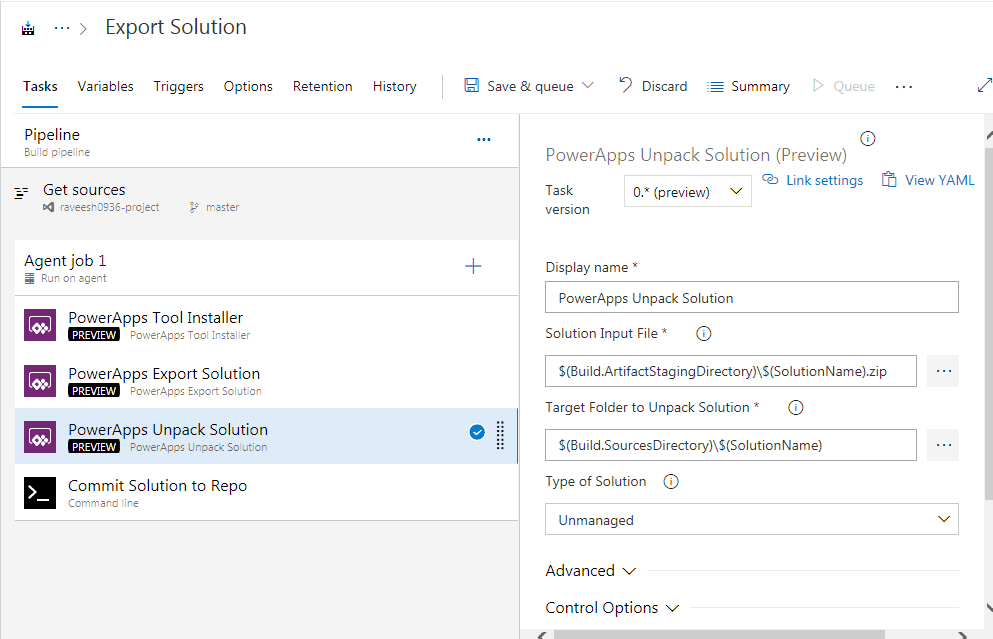
PowerApps Unpack Solution
- Open the task to configure settings for the task with the following details:
- Solution Input File: $(Build.ArtifactStagingDirectory)\$(SolutionName).zip
- Target Folder to unpack solution: $(Build.SourcesDirectory)\$(SolutionName) and Solution type Unmanaged
Commit Solution Files to Source Control
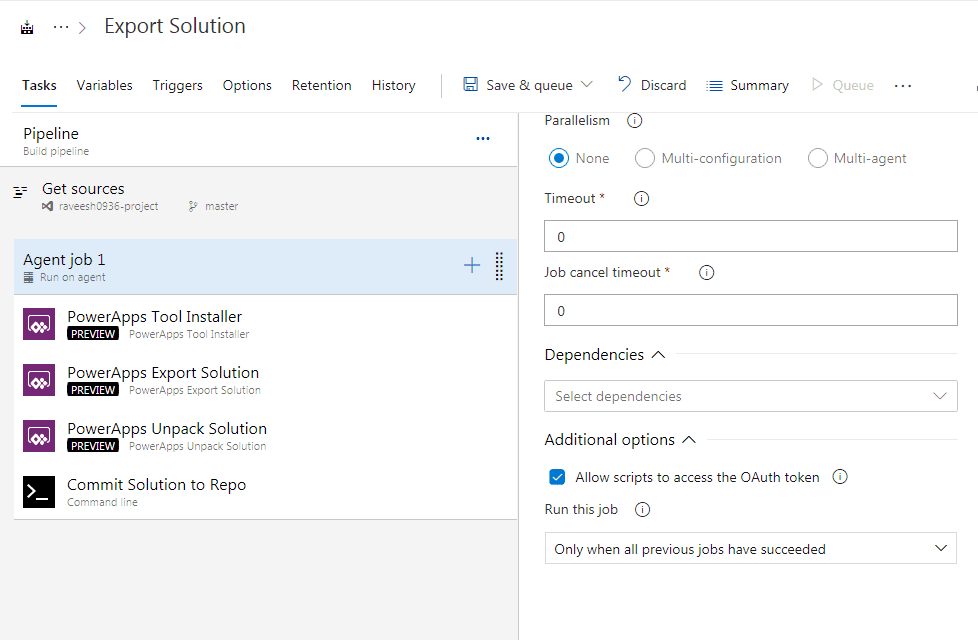
We are going to add some scripts as a next pipeline step, but we need to change a pipeline setting to allow for scripts to access the OAuth token (Allow scripts to access the OAuth token).
Go back to Agent Job 1 and under Additional Options
Select and check mark “Allow Script to access the Outh token”
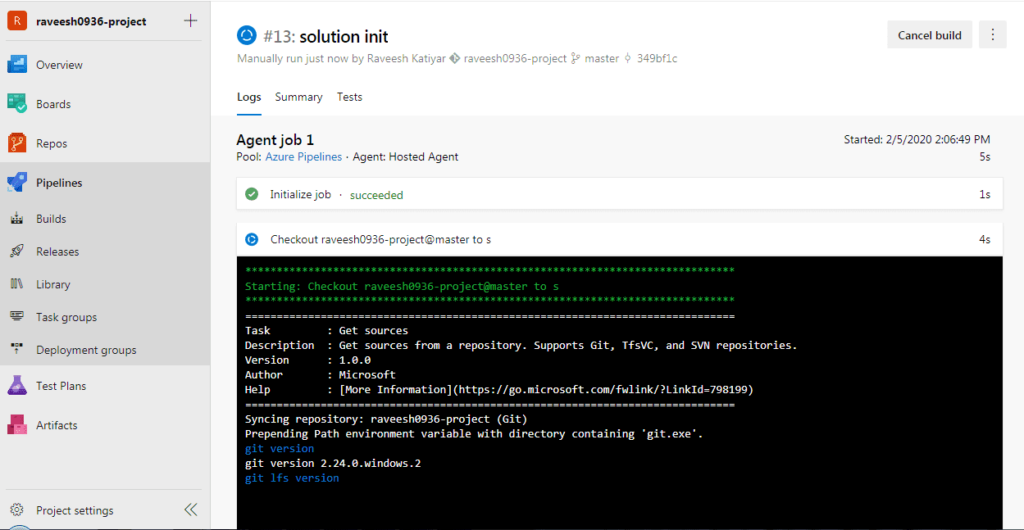
Once done all the settings then save and queue the build
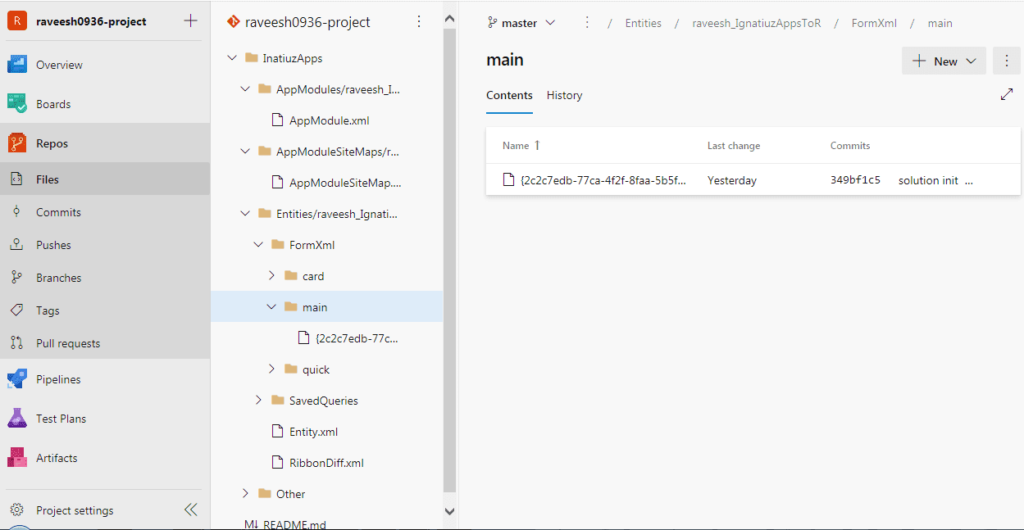
Once build completed then go to Repo to check the solution
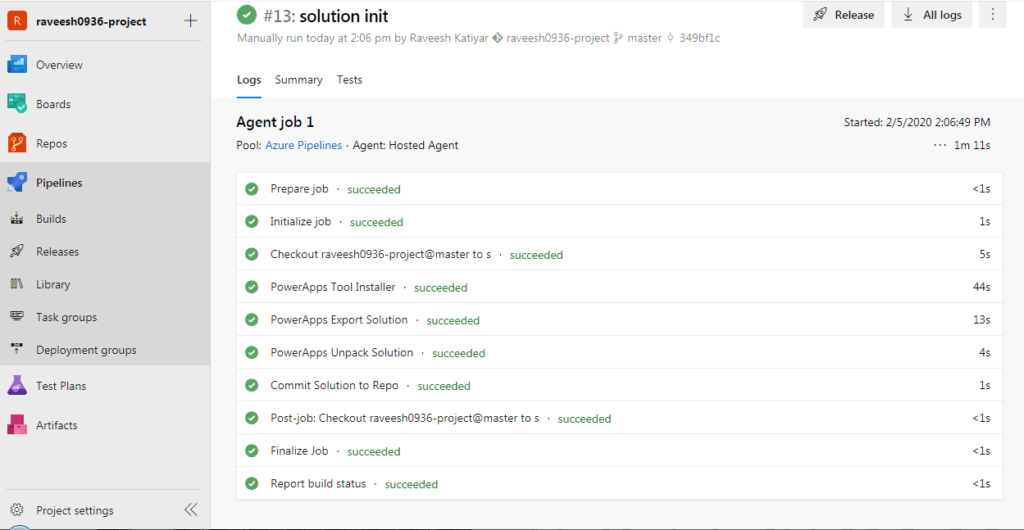
You can see the Apps solution here (As per below).