Support System- HelpDesk FAQ
The Office 365 HelpDesk add-in is designed to work efficiently with SharePoint 2013, SharePoint 2016 and SharePoint Online (Office 365).
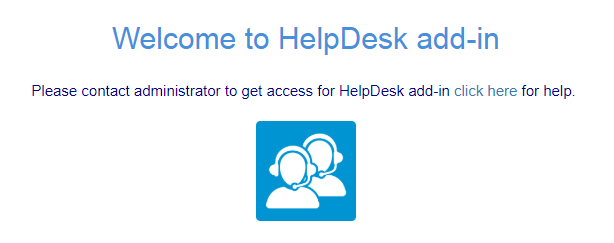
You can get the add-in from Office app store. You need to be logged in to SharePoint Online site as an admin. To view the step by step instructions for installing the add-in, please review the user manual at https://ignatiuz.com/products/HelpDesk-User-Manual.pdf.
- You can install HelpDesk add-in by adding the add-in from app store.
- Go to site content add an add-in and select add-in and install.
HelpDesk(SharePoint Add-ins) system keeps tracks of every support request within an organization.
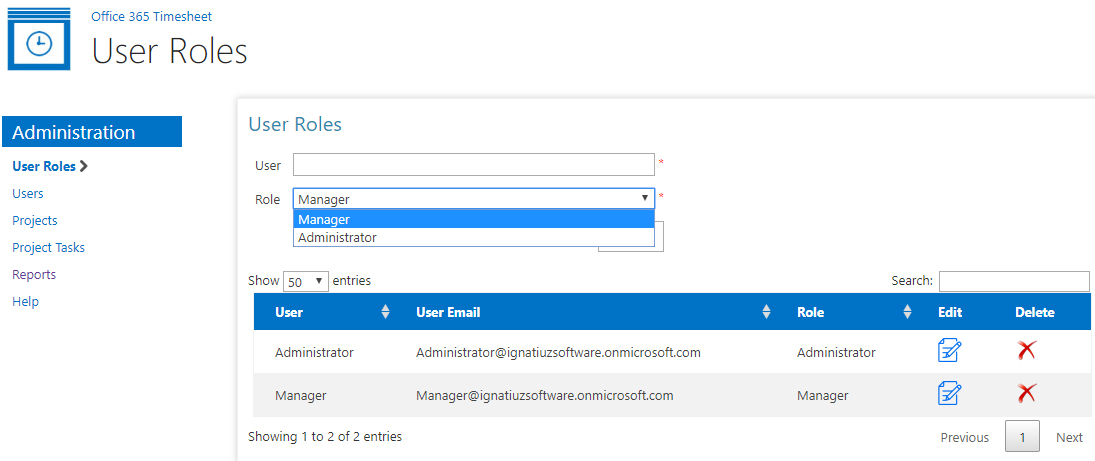
- Administrator
- User
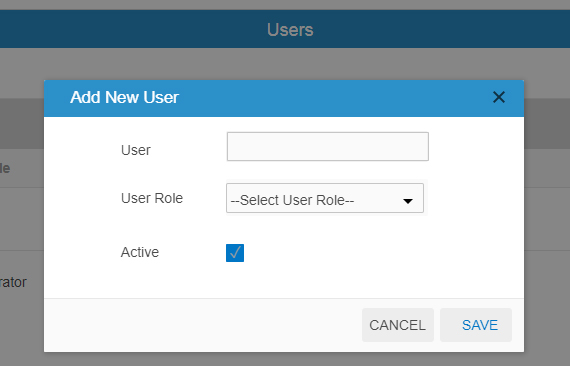
- Administrator can add users with predefined role.
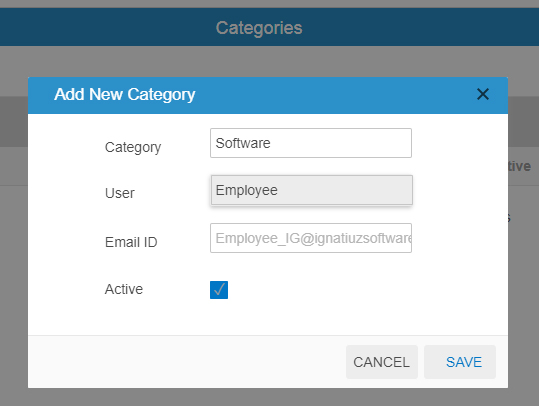
- Administrator can add categories & assign the user to particular category.
- Administrator can only view all the tickets on dashboard which are submitted/assign to user.
Yes,there can be more than one administrator in the system.
Once user login to system, user can raised the ticket & can resolve the tickets which are submitted by other users.
When administrator adds the category, the particular user is assigned to the category & user will notify through mail with category name.
Administrator assign users category wise in system, only those users can resolve/closed the tickets.
On users dashboard “Submitted by & Assigned to” default filter is given.
To remove the app from the site please follow the below steps:-
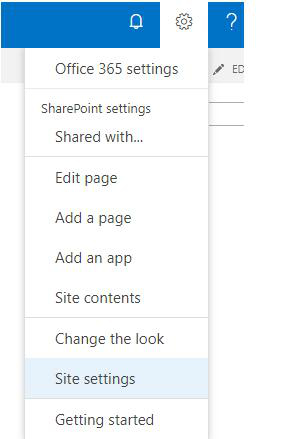
- Login to sharepoint using Administrator account
- Click on setting icon
- Go to contents
- Locate HelpDesk app
- Click the 3 dots on HelpDesk app – a popup will appear
- Click on three dots appearing on the pop-up
- A remove option will appear click on remove and the app will get removed successfully.