SharePoint’s Business Connectivity Service (BCS) is intended to provide SharePoint access to a variety of data sources to include:
- SQL Server
- .NET
- WCF Service
- SOAP
- REST Service Connection
- XML File Connection
Important things about Business Data Connectivity Service:
- BCS are based on some predefined operations like Create, Read Item, Read List, Update and Delete.
- It allows you to work directly with data stored in an external system or database.
- Authentication can be done directly using User authentication or the SharePoint Secured Store Service can be used to authenticate with a specific account.
- Information can be one-way (view only) or two-way (add, update & delete).
- BCS data sources can be ‘associated’ to one another to create ‘relationships’ – One-to-Many, One-to-One, etc.
- Connections can be made using SharePoint Designer (easiest) or through Visual Studio.
- Its ‘definitions’ can be exported and imported across sites.
- BCS is based on the “Business Data Catalog” and uses BDC definitions to access “line of business” (LOB) data.
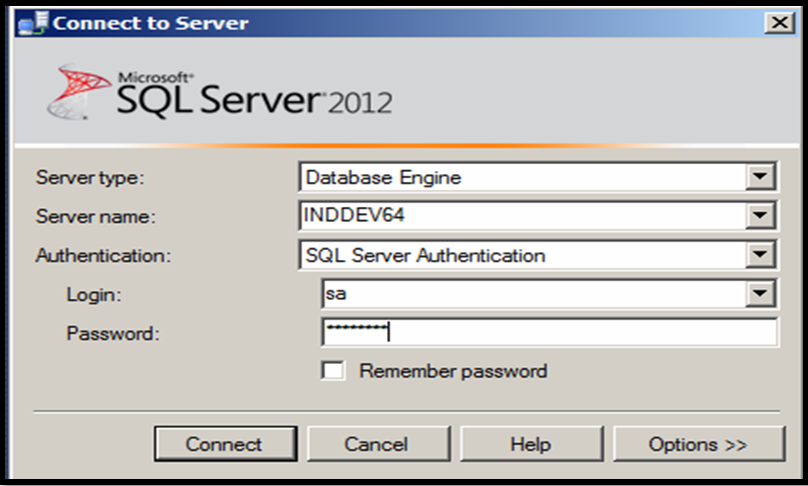
Create a Data SourceOpen SQL and connect to the DEMO2010A Database:
Right click on Databases and select New Database.
Name the database DataSheet:
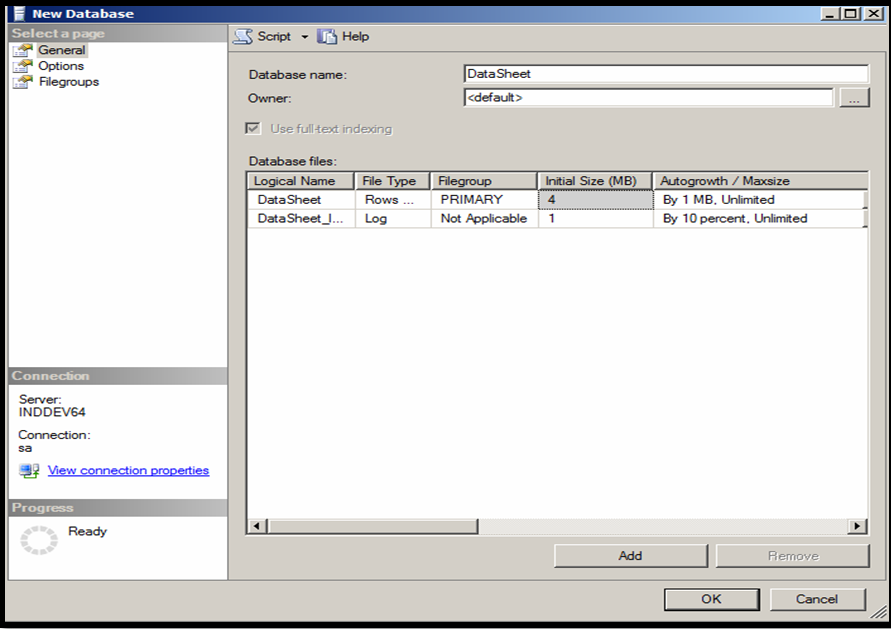
Click OK to create the database.
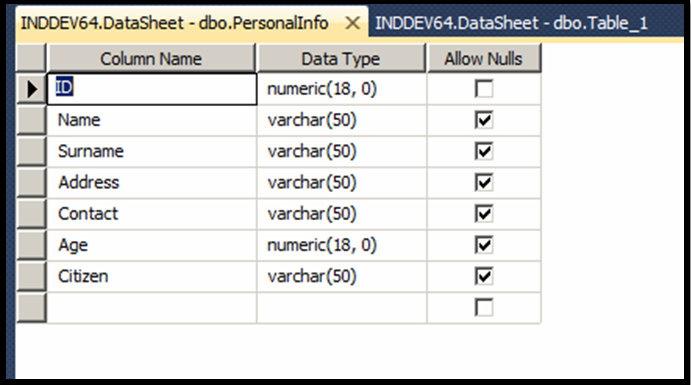
Right click on the Tables folder and select New Table.
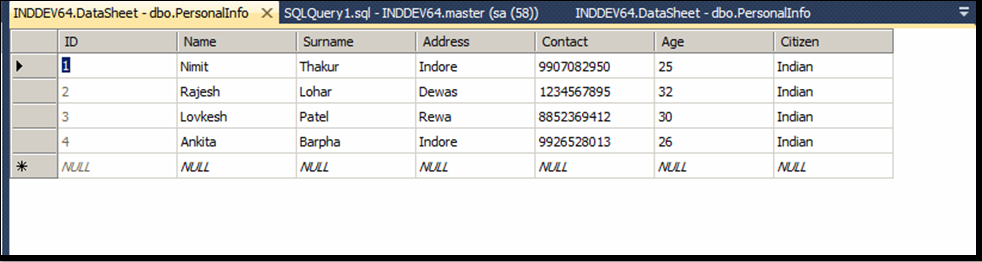
Add columns in Table and then enter the table name. I entered “PersonalInfo” and save it.
Add data in your table.
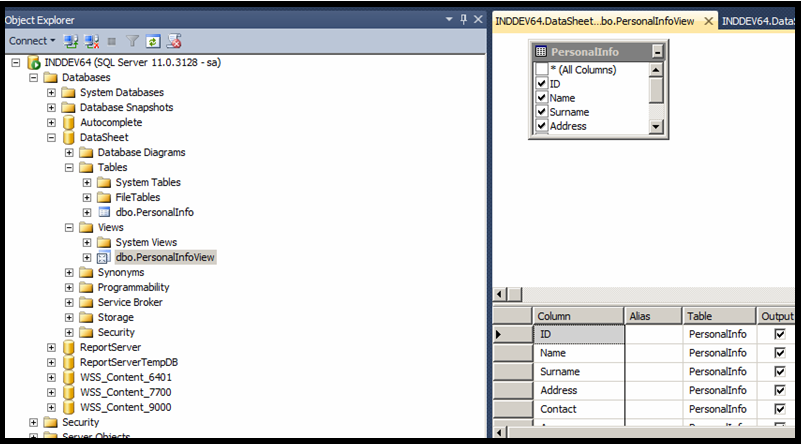
After that create the Table view and name the view. We can use table itself directly. Use views if data is taken using joins from multiple tables. I entered “PersonalInfoView”.
CREATING THE EXTERNAL CONTENT TYPE
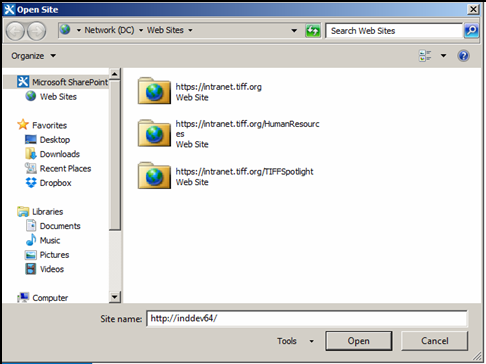
Open SharePoint Designer 2013 and connect to your site.
In the ribbon, click External Content Type:
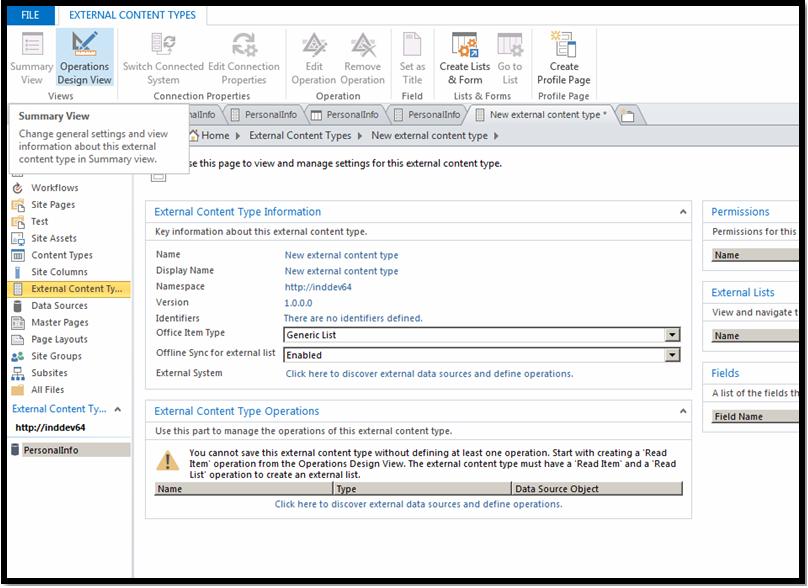
The external content type will open in the ‘Summary View’ – click the name (New External Content Type) to change it to PersonalInfo:
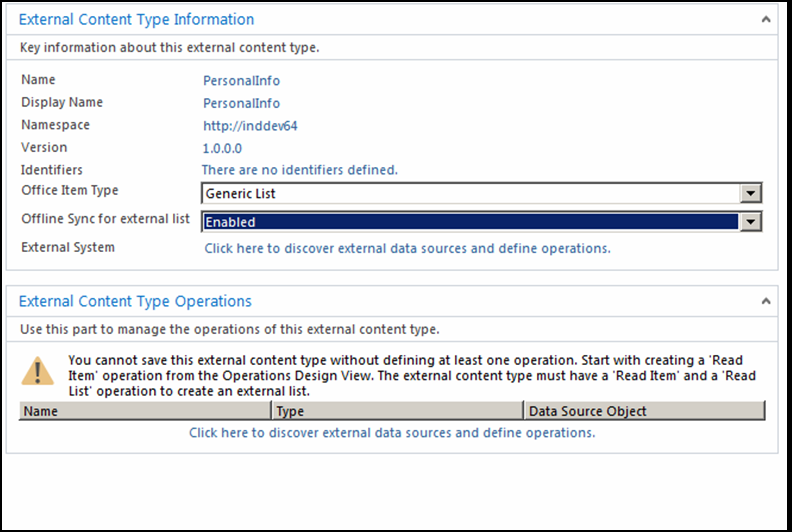
Next we need to select data source type that we want to use– click ‘Click here to discover external data sources and define operations’. This will open the Operations View:
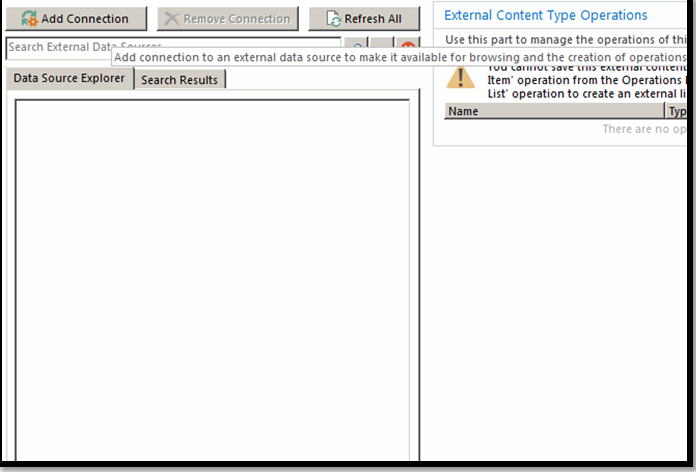
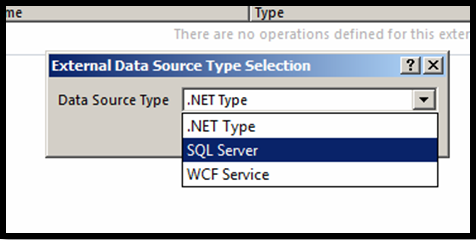
Click the Add Connection button then choose the Type as SQL Server and click OK:
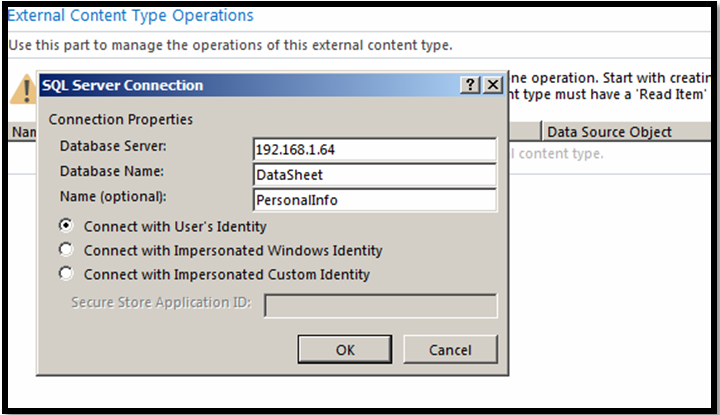
Then enter the database server name and name of the database and click OK:
After the connection is validated, the database should appear in the Data Source:
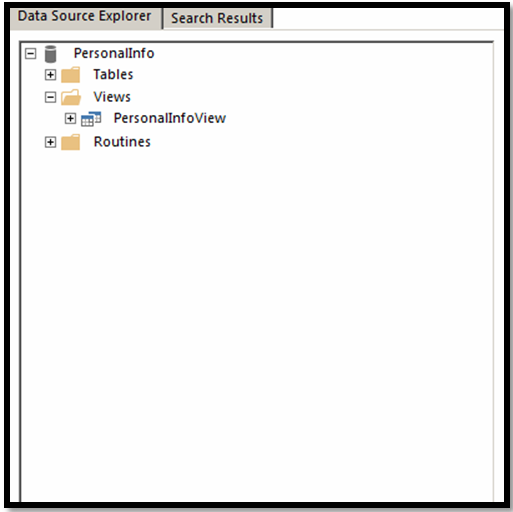
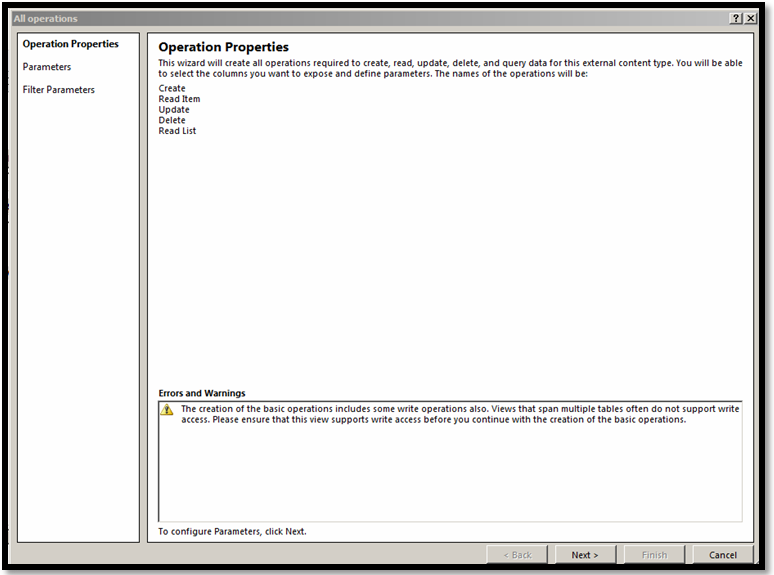
Right click on the view PersonalInfoView to generate operations (read, update, delete, etc.) For this demonstration, click Create All Operations – this will create all the operations.

On the Operation Properties page, click Next (if there are any errors, such as a read only table, they would be indicated here)
On the Parameters Configuration page, you will need to define the Identifier for this table (Primary key to the table) – click ID and then click Map to Identifier:
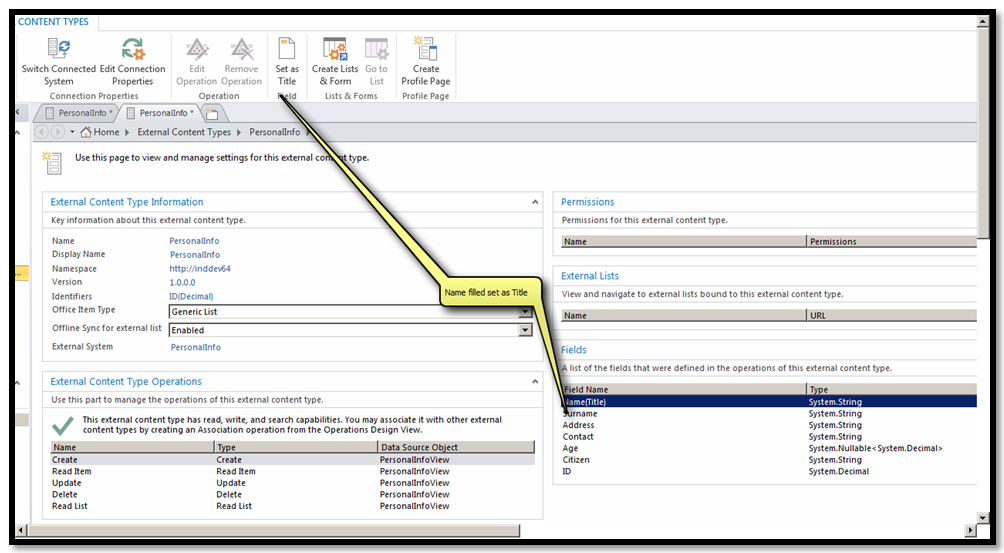
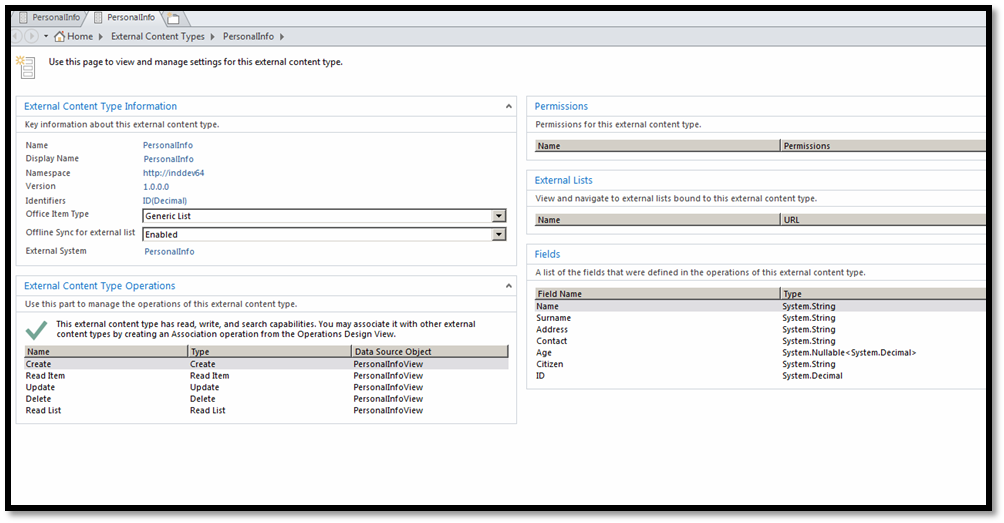
Click Finish to create the operations (if you click Next, you can specify filters for the data, i.e. a subset of the data in the database) – once these are created, you should see the operations listed under External Content Type Operations (right side of the page):

Then Set one field as Title.
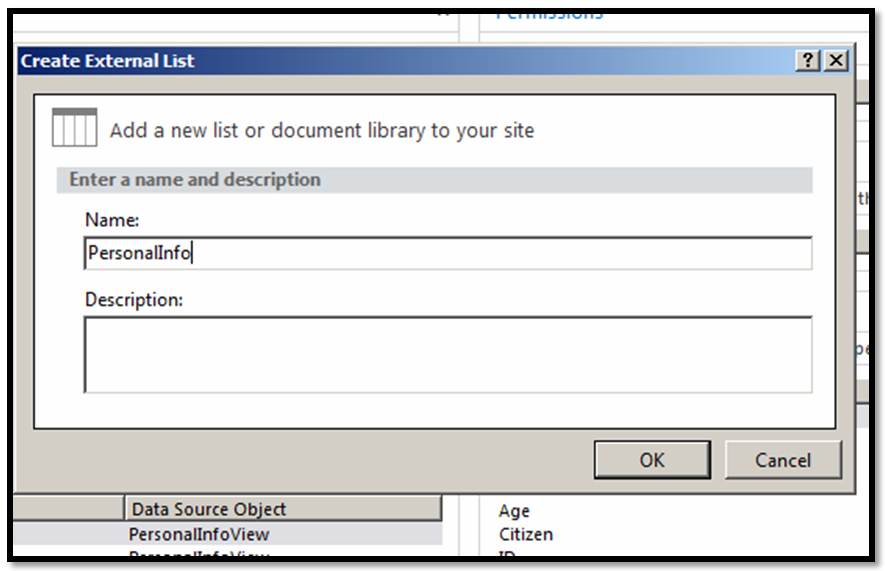
Then generate the list and forms for the external content type (This will create the list in SharePoint. It is called External List) – in the left navigation bottom, right click on External content type then Create Lists:
Add a list name in it:
SETTINGS BDC PERMISSIONS
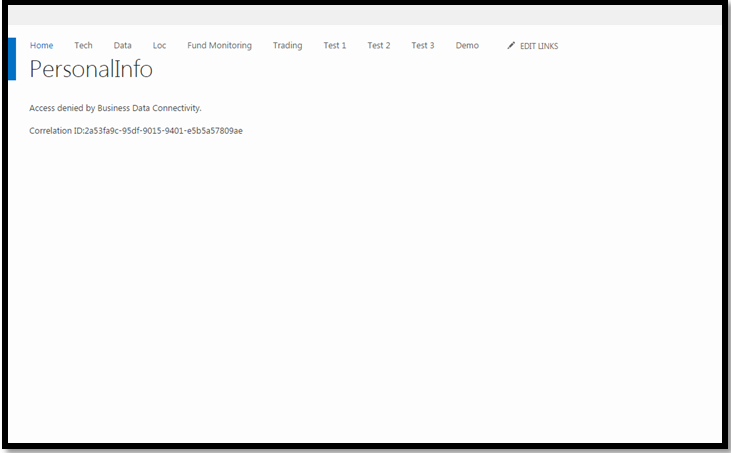
Now open the list in browser that created on the site. However, you do not have access yet since the BDC – you can ‘prove’ this by opening your site and open the list:
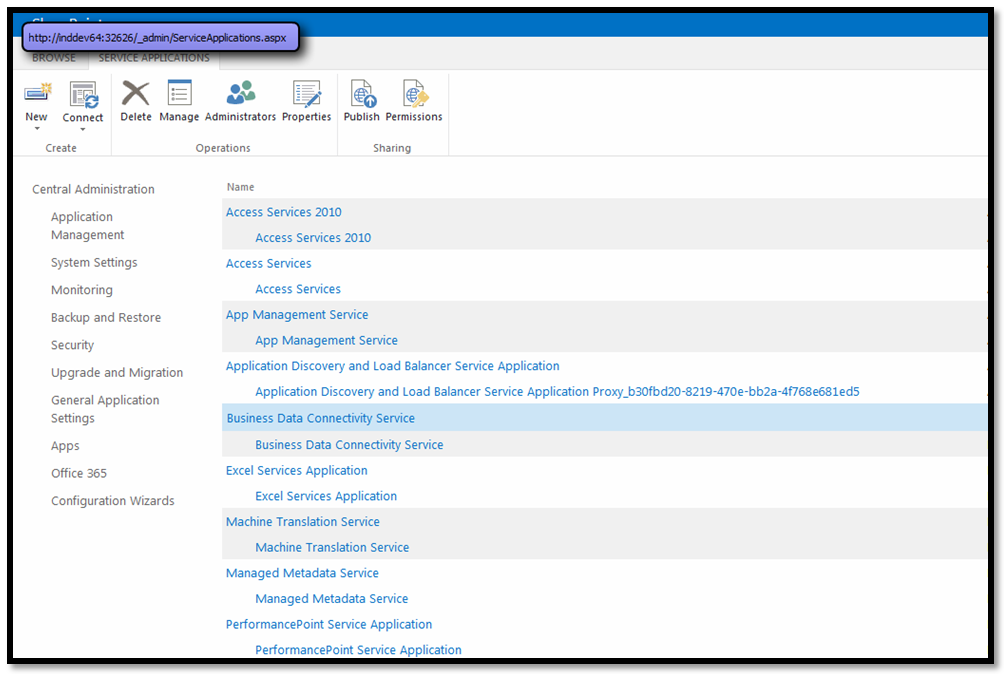
Open the Central Administration site and from the home page under Application Management, click Manage Service Applications.
Click on the Business Data Connectivity to open it:
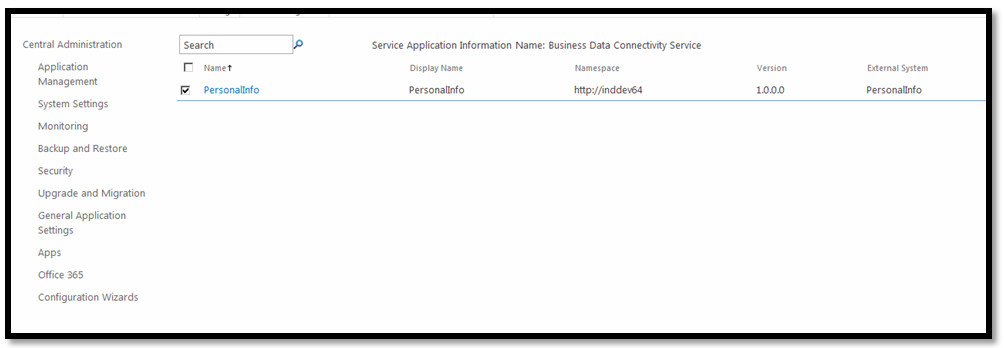
You will find the BDC connection created. Select our BDC and then click Set Object Permissions at top ribbon:

Set the account and set the permissions and click OK:
Same steps follow for Set Metadata Store Permissions.
Now browse the list from site:
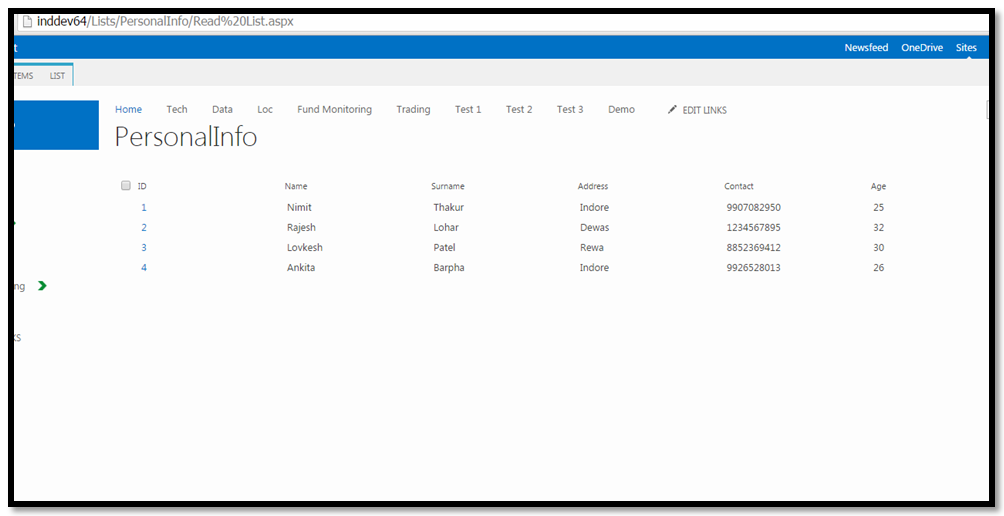
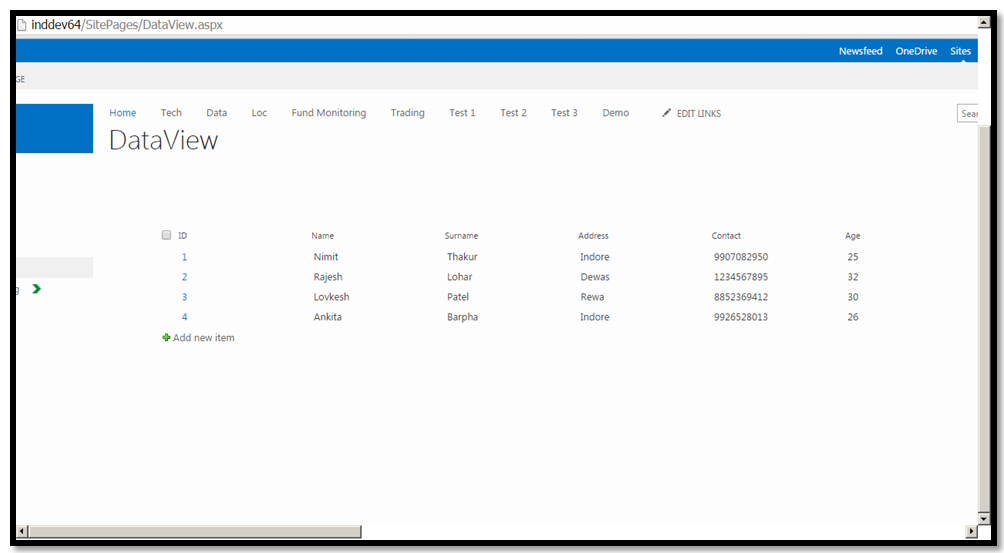
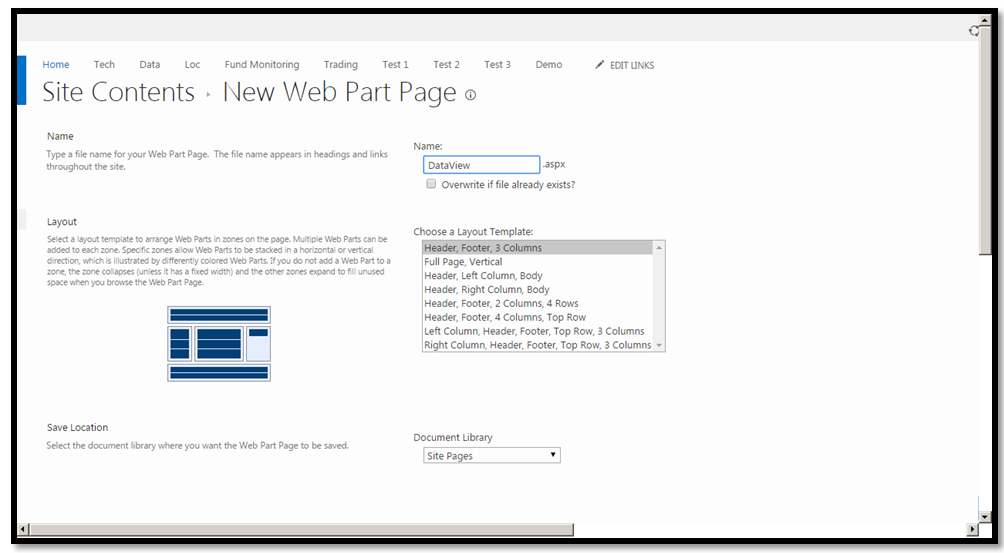
Create Page and Add Data View Web Part on it.
First create the page under site contents named “DataView”
Then Go to SharePoint designer Home > Site Pages
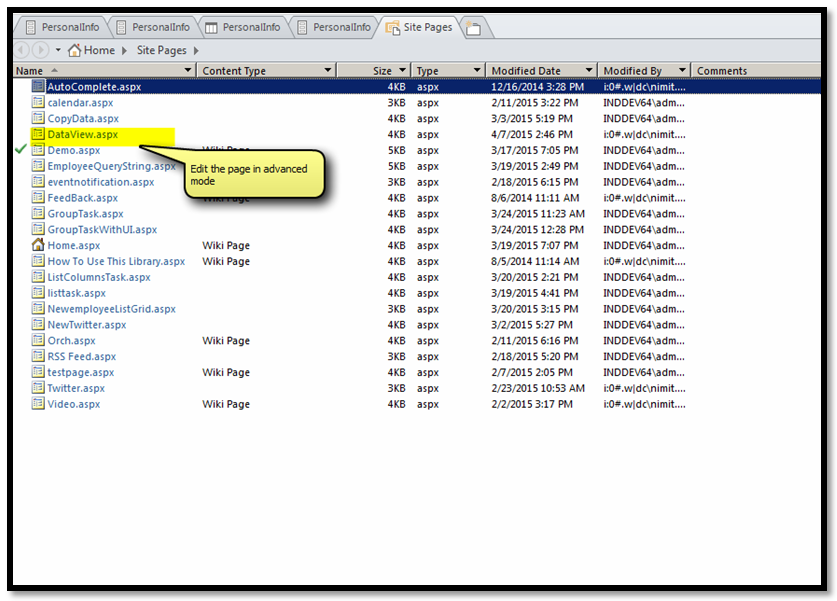
Edit the page in SharePoint Designer. Click on Insert tab from Top of ribbon and click Data View and select the external list “PersonalInfo”. It will add dataview web part on the page and bind this web part with external list. Save the page.

Now browse the page in browser. You will see that our External list content is showing up in page: