Electron is an open-source framework. It is used for creating desktop applications with the help of Node and Chromium browser (for UI). Basically, UI defines HTML, CSS, Javascript and we can also use the packages and functions provided in the NodeJs.
Below are the steps to get started with the very first Electron Js Application –
- We need to create a new folder in our file system.
To create a directory use the following command:
- ext, we will require three files
- Package.json
- Index.js
- Index.html
Execute below command for creating package.json for managing and installing packages.
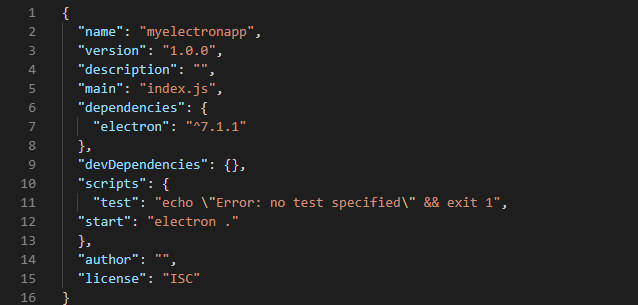
As soon as we execute the npm init command we can setup the details in the package.json file like – project name, version, description, main file location, author, license, etc.

This JSON file (in the above image) points to the app’s main file and lists all its details and dependencies.
- Now execute the below command to install the Electron.
The principles and methods of Node.js development are so popular that this same principle and method is used to develop Electron apps using Javascript.Using APIs and features of Electron through the electron module is almost similar to the way we access APIs and features in the Node.js module.
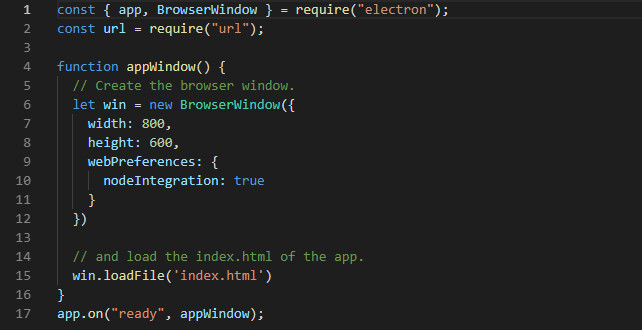
- Create the file “index.js” which will be the root of our application and add the below-mentioned code to create a browser window of the desktop application.

This is the electron directory structure for our app:

- Use the below command to run the app.
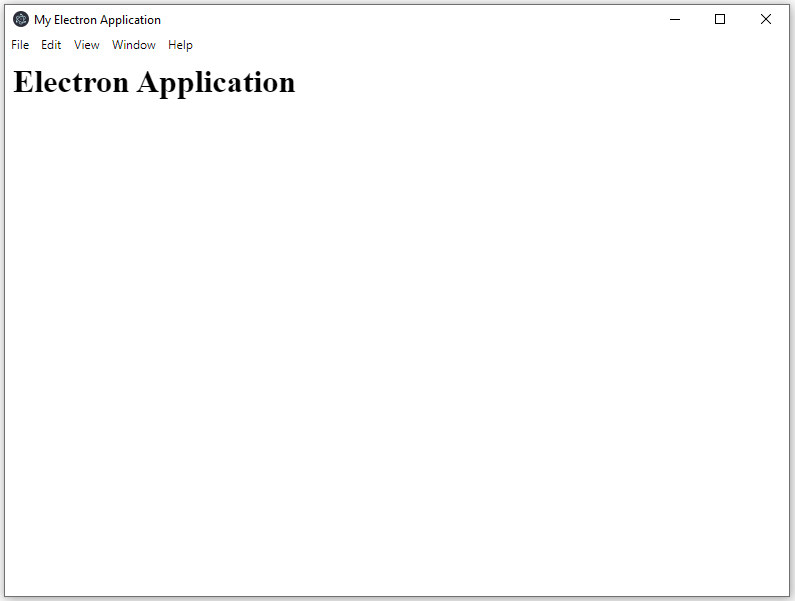
Output:

