Introduction
DevOps enables roles Development, IT operations, quality engineering and security—to coordinate and collaborate to produce better, more reliable products.
Create an Azure DevOps Project
We are going to use Azure DevOps for both source code storage and build and deployment automation.
- Log onto dev.azure.com with your credentials.
- Click on your organization in the left panel. Follow the instructions to create a project.
- Click Create Project.

When project is completed, you will need to create a Repo to hold the source code.
Initialize the repo with the default README by clicking the Initialize button.
Install and Enable the Azure DevOps Extensions for PowerApps
Click on the Organization Settings page and, click the Extensions link in the left navigation panel.
Click the Shared and Browse marketplace and search PowerApps Build Tool.
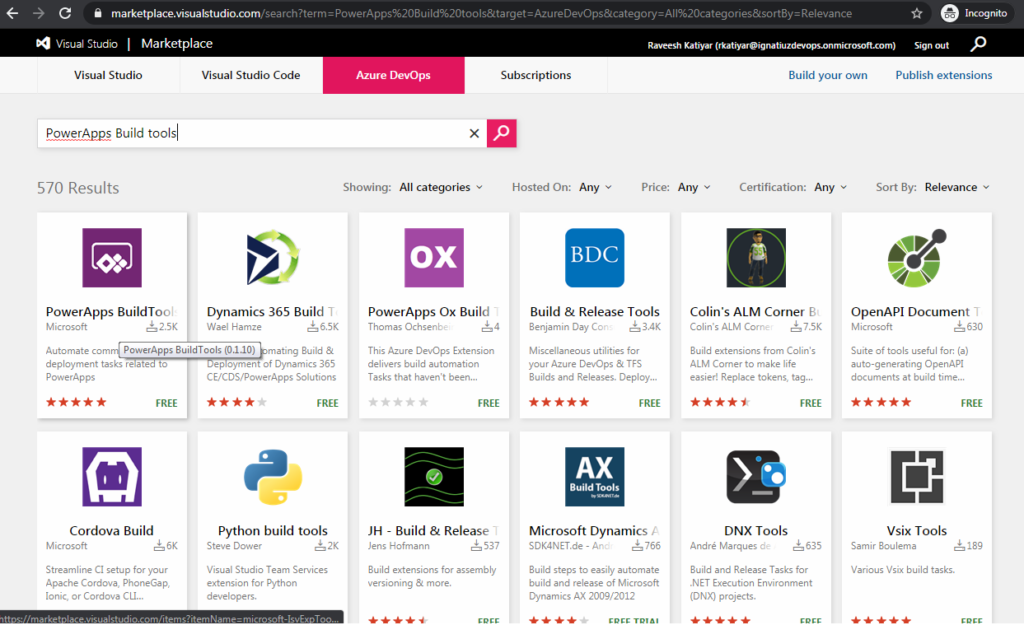
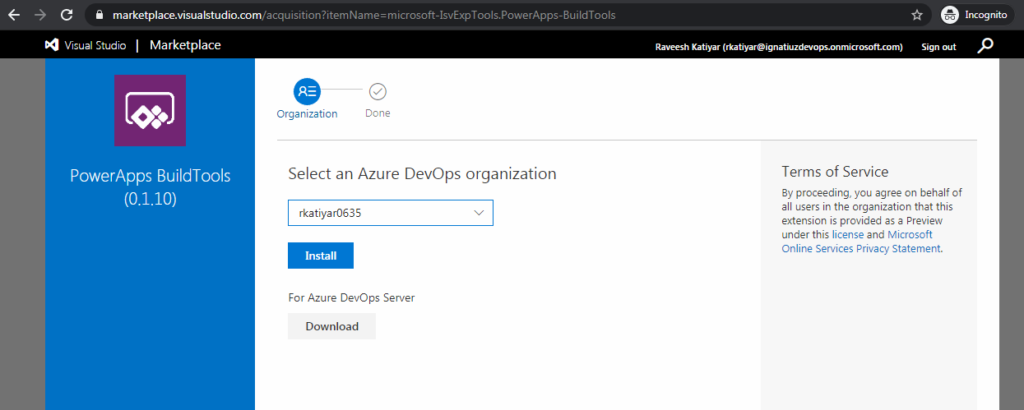
Click on the PowerApps Build Tools and add Get it free and install it on the DevOps organization.
Once Installation done, go back to the project settings to configure build permission.
Configure Azure DevOps Permissions for Build Service Account
The build pipelines that we set up later will be exporting files from an org and checking them into your source code repo. This is not a default permission of Azure DevOps, so we need to configure the appropriate permissions for the pipeline to function properly.

Create Build Pipeline
This pipeline will export your solution from your PowerApps development. Click over pipeline and build > New Pipeline > Click Use the classic editor link to create a pipeline > Select Source (Azure Repos git) > and Continue and select Empty Job and save.