Selenium is an open-source tool to automate the web and mobile applications. In order to automate applications, need to configure the setup. It involve following steps:
- Download and Install Java Development Kit (JDK)
- Download and configure eclipse
- Setup Java Environment Variable Path
Download and Install Java Development Kit (JDK)
- Visit the URL: https://www.oracle.com/technetwork/java/javase/downloads/index.html
- Click on “JDK Download”
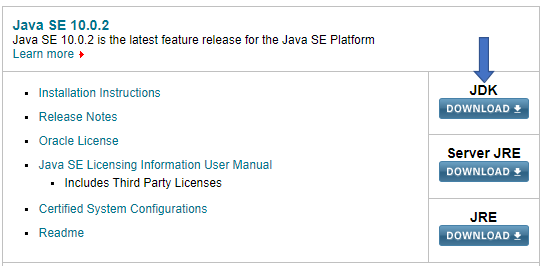
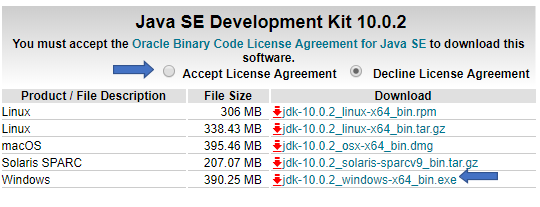
3. Click on “Accept Licence Agreement” radio button and select JDK according to the operating system
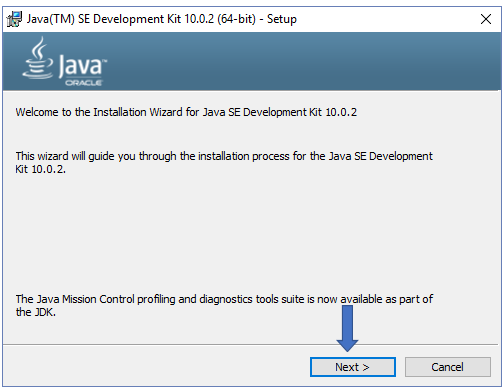
4. As soon as download completes, double click on the exe file to run the installer
5. Now, click on next button
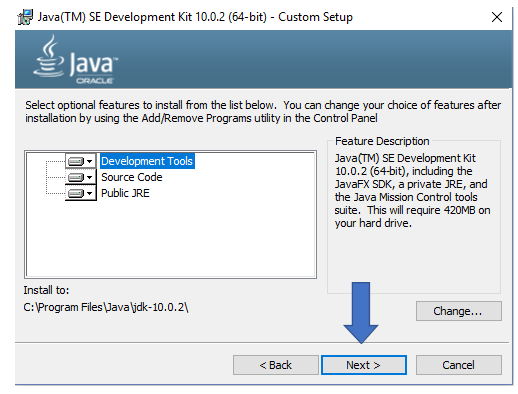
6. Read the feature description and click on “next” button for this screen also
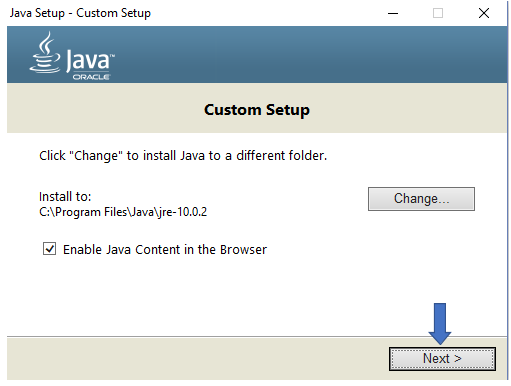
7. After installation, the popup appears where user can change the location of the installed folder. Click next
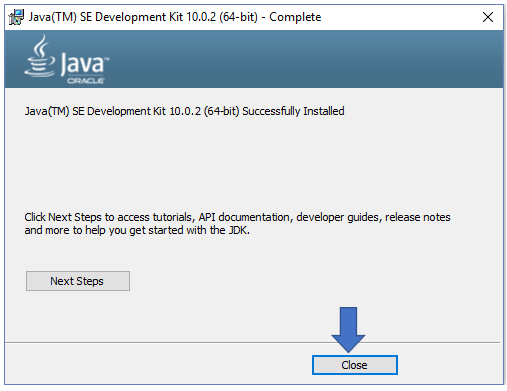
8. JDK installed successfully
Download and Install Eclipse
- Visit the URL https://www.eclipse.org/downloads/ and click on “download 64bit”

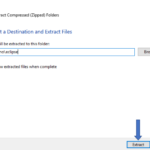
2. As soon as download completes, extract the contents by un-zipping it
3. Now, user can change the location of the extracted folder. Click extract
4. Now, open the installed eclipse folder and run eclipse.exe file residing in eclipse folder
5. Eclipse will launch

Setup Java Environment Variable Path
1. Open My computer> right click and select Properties> choose Advanced System Settings from left container
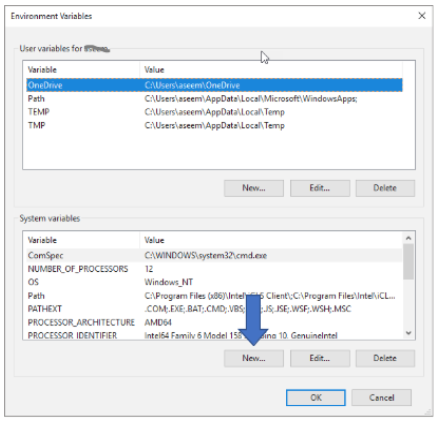
2. Click on Environment variables button under “Advanced” tab
3. Tap on New button from System Variables
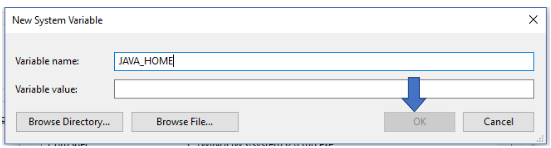
4. Enter the variable name as: “JAVA_HOME” and variable value as path of your installed JDK folder (for example: C:\Program Files\Java\jdk1.8.0_151) and click ok
5. To set Path variable, click on “Edit” from System Variables and enter variable value as ”;%JAVA_HOME%\bin‘ or ‘;C:Program Files\Java\jdk1.8.0_45\bin” and click ok
6. To verify variables has been set correctly, run the command “java -Version” in command prompt
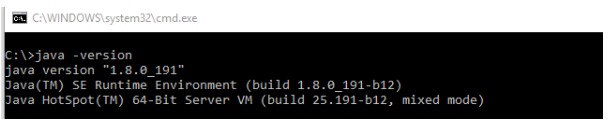
Here, the installation gets completed and now we are all ready to automate applications!! 😊