In our previous blog, we have got a brief overview of Flow Launch Panel. Now let’s see how to create Flow Launch Panel in SharePoint List and Libraries.
How to create Flow Launch Panel in SharePoint Lists and Libraries?
Below are the steps to create Flow Launch Panel in SharePoint list & Libraries:
Step 1. First, you have to create Document Library in SharePoint online, then upload a new file to it. Select the uploaded file and you can see the “Flow” tab on the top ribbon.
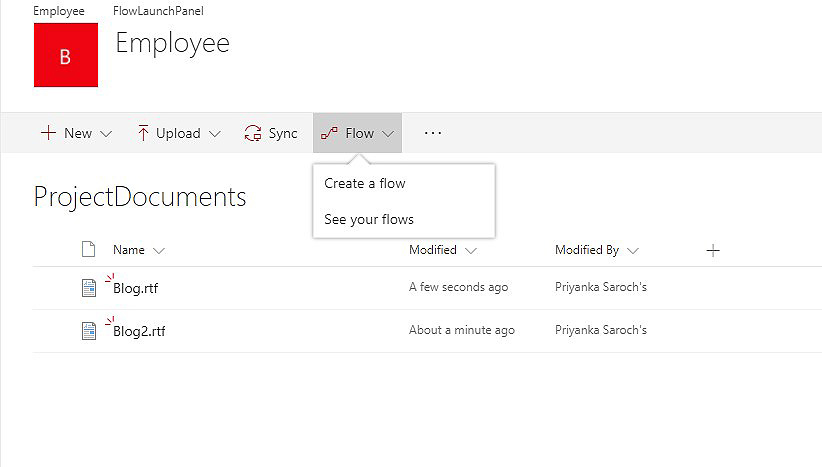
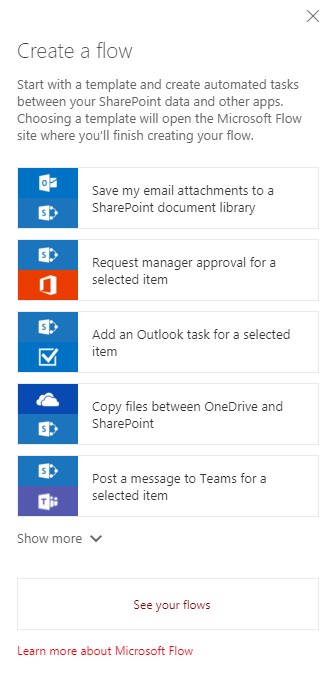
Step 2. Click on Flow tab and Create a flow. After clicking on Create a flow, it will open a pane on the right-hand side of the window where you can see the List of several templates. Now you have to choose one of them as per the requirement.
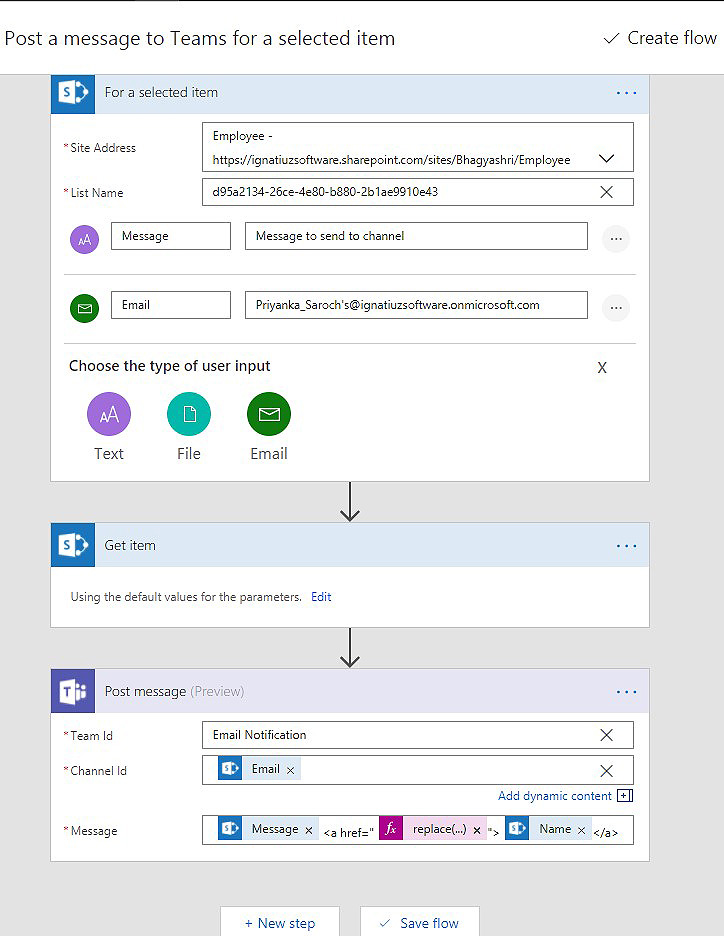
Step 3. When you select any template from the list, you can see the next window as per selected template. As we have selected Post a message to a Teams for a selected item, we will get this window. After that, click on Continue button.

Step 4. After clicking on Continue button, it will ask for some settings like Email, Team ID, Channel ID etc. After providing the relevant details you can save the settings.
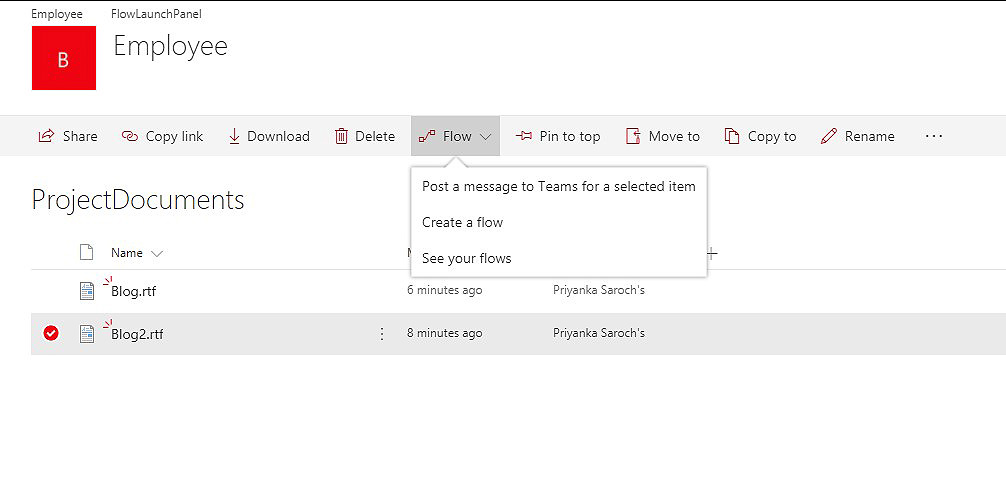
Step 5. Now, come back to the document library page. Again click on Flow tab, now you can see one more submenu inside a Flow ie., Post a message to a team for a selected item.
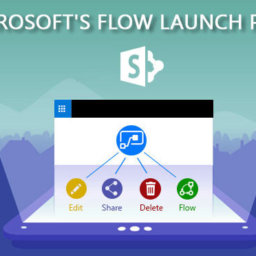
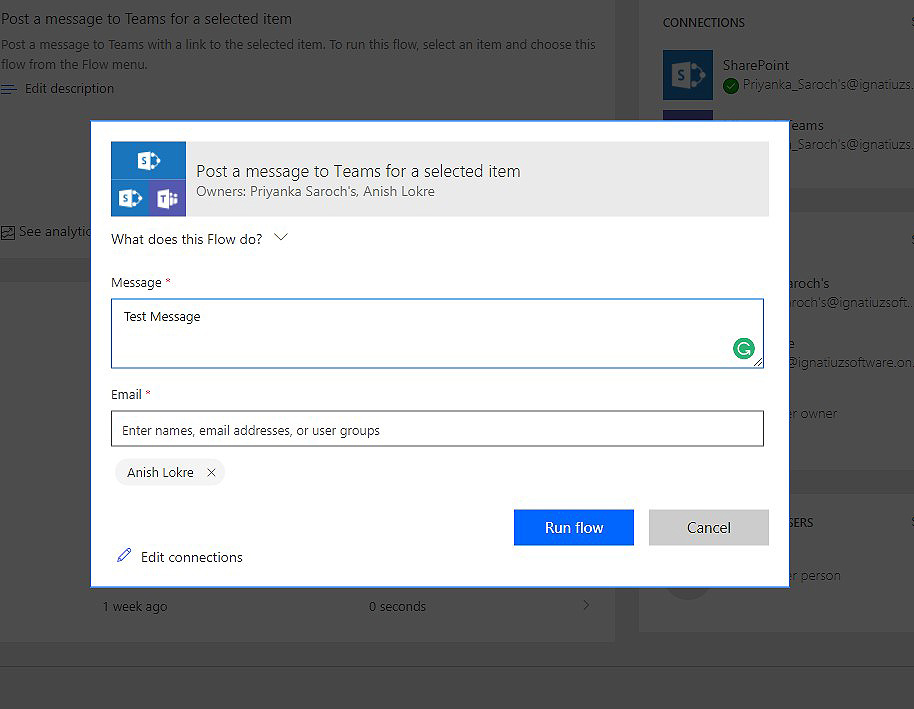
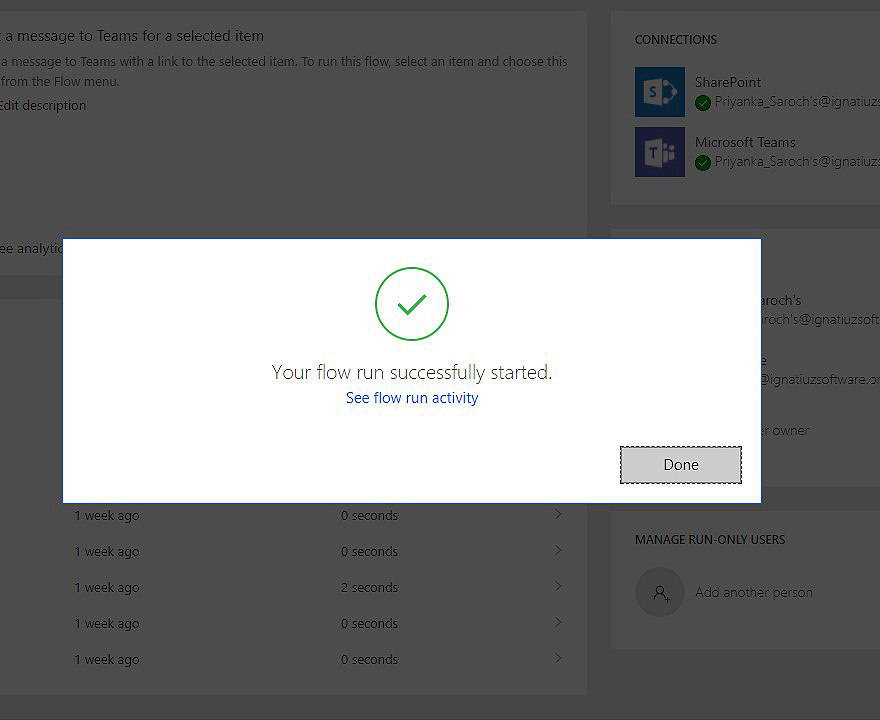
Step 6. After clicking on Post a message to a team for a selected item, it will open a pane on the right-hand side of the window. Provide Message & Email to create a Team with your peers and then click on Run Flow button.
Step 7. Once the flow gets completed, you can see that a new message is posted to your Teams containing the note that you added in SharePoint and a link to the selected item.
To know more about it, contact us today at +1-484-876-1867 or send us a message.